The Ultimate Guide to Different Types of Plastering Techniques


Plastering is an essential part of construction and home improvement, providing a smooth, durable surface for walls and ceilings. Understanding the different plastering techniques can help you choose the best option for your project. This guide covers four popular methods: spray plastering, dry lining, wet plastering, and Venetian plastering. Each technique has unique benefits and uses, which we'll explore along with step-by-step guides.
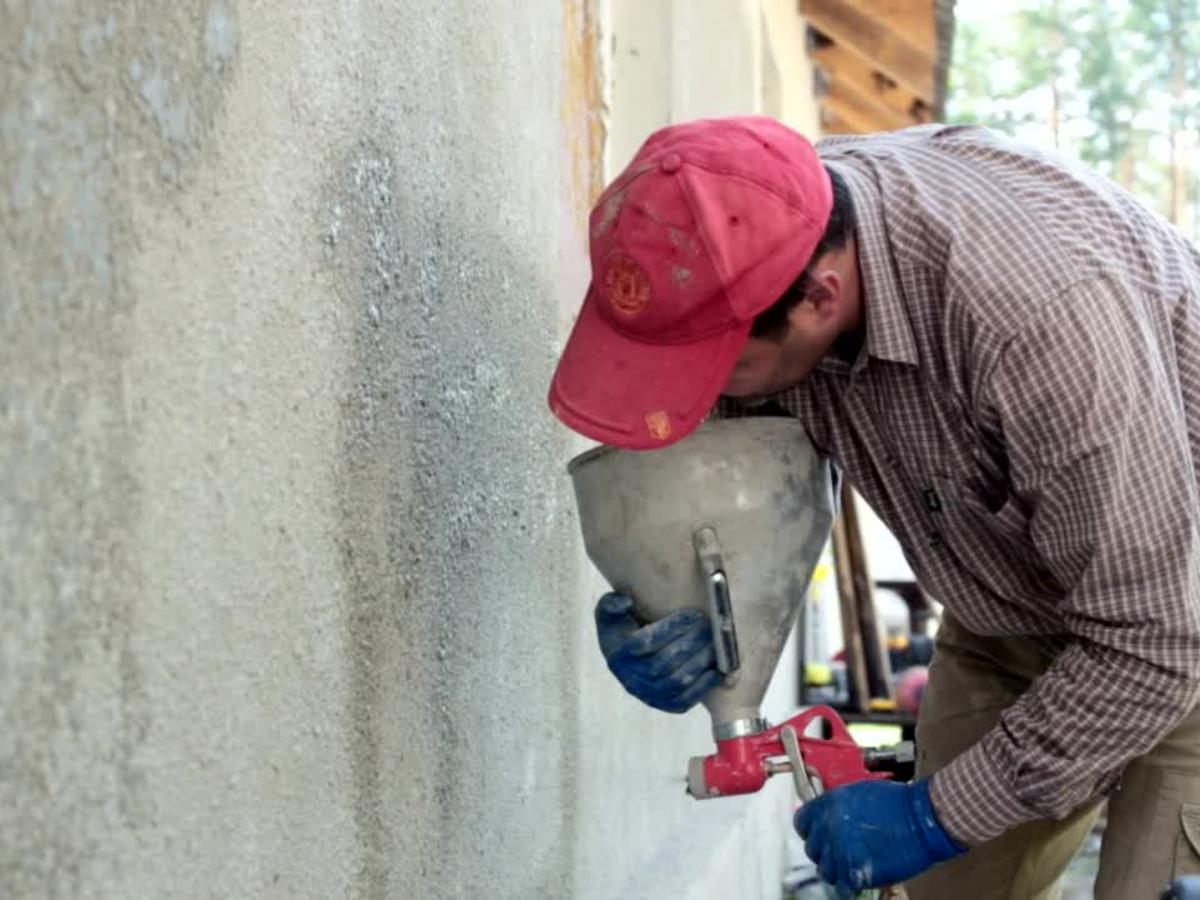
Spray Plastering
Spray plastering is a modern technique in Norfolk that uses a machine to apply plaster to surfaces quickly and efficiently. This method is perfect for large areas and commercial projects.
Benefits of Spray Plastering
- Speed: Spray plastering is much faster than traditional methods, reducing labour time.
- Uniform Finish: The spray application provides a consistent and smooth finish.
- Reduced Waste: The controlled spray minimises material waste.
Best Use Cases
- Large commercial spaces
- New constructions
- Renovations requiring quick turnarounds
Step-by-Step Guide to Spray Plastering
1. Preparation: Clean the surface and cover any areas that shouldn't be plastered.
2. Mixing: Prepare the plaster mix according to the manufacturer's instructions.
3. Setting Up the Machine: Load the plaster into the spray machine.
4. Application: Use a sweeping motion to apply the plaster evenly throughout the surface.
5. Finishing: Smooth the plaster with a trowel for a uniform finish.
6. Drying: Allow the plaster to dry completely before painting or decorating.
For those looking for professional help, opting for a reliable plastering service in Norfolk ensures quality results and saves you the hassle of doing it yourself.
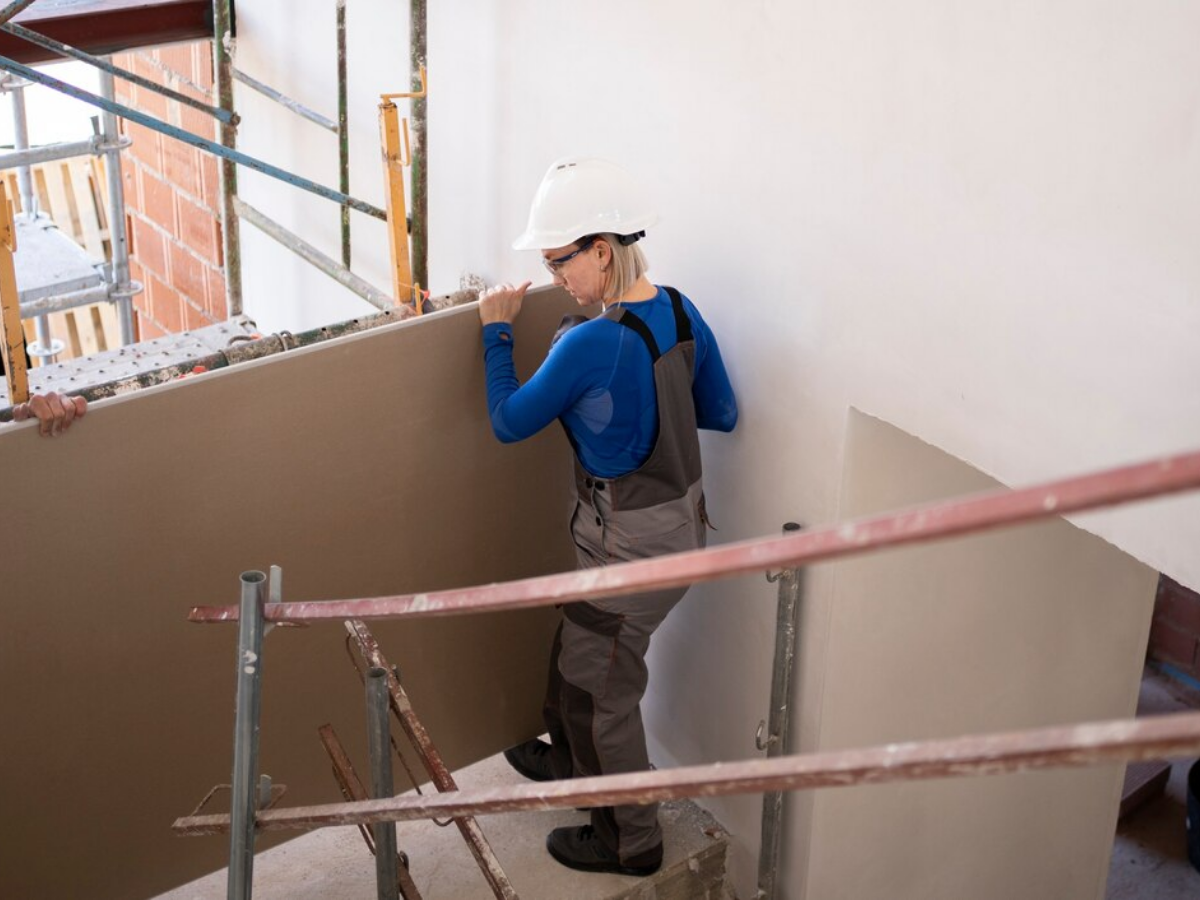
Dry Lining
Dry lining involves attaching plasterboard to walls or ceilings, providing a smooth surface without the mess of wet plaster. It's a well-liked option for current building and remodelling projects.
Benefits of Dry Lining
- Clean and Fast: Dry lining is quicker and cleaner than wet plastering.
- Insulation: Plasterboard offers additional insulation and soundproofing.
- Versatility: Suitable for various surfaces, including masonry and timber frames.
Best Use Cases
- New constructions
- Renovations where speed and cleanliness are priorities
- Spaces requiring extra insulation
Step-by-Step Guide to Dry Lining
1. Preparation: Measure and cut the plasterboard to fit the wall or ceiling.
2. Fixing: Attach the plasterboard using adhesive or screws, ensuring it's level and secure.
3. Jointing: Apply jointing tape to the seams and cover with joint compound.
4. Sanding: Once dry, sand the joint compound for a smooth finish.
5. Decorating: Paint or wallpaper as desired.
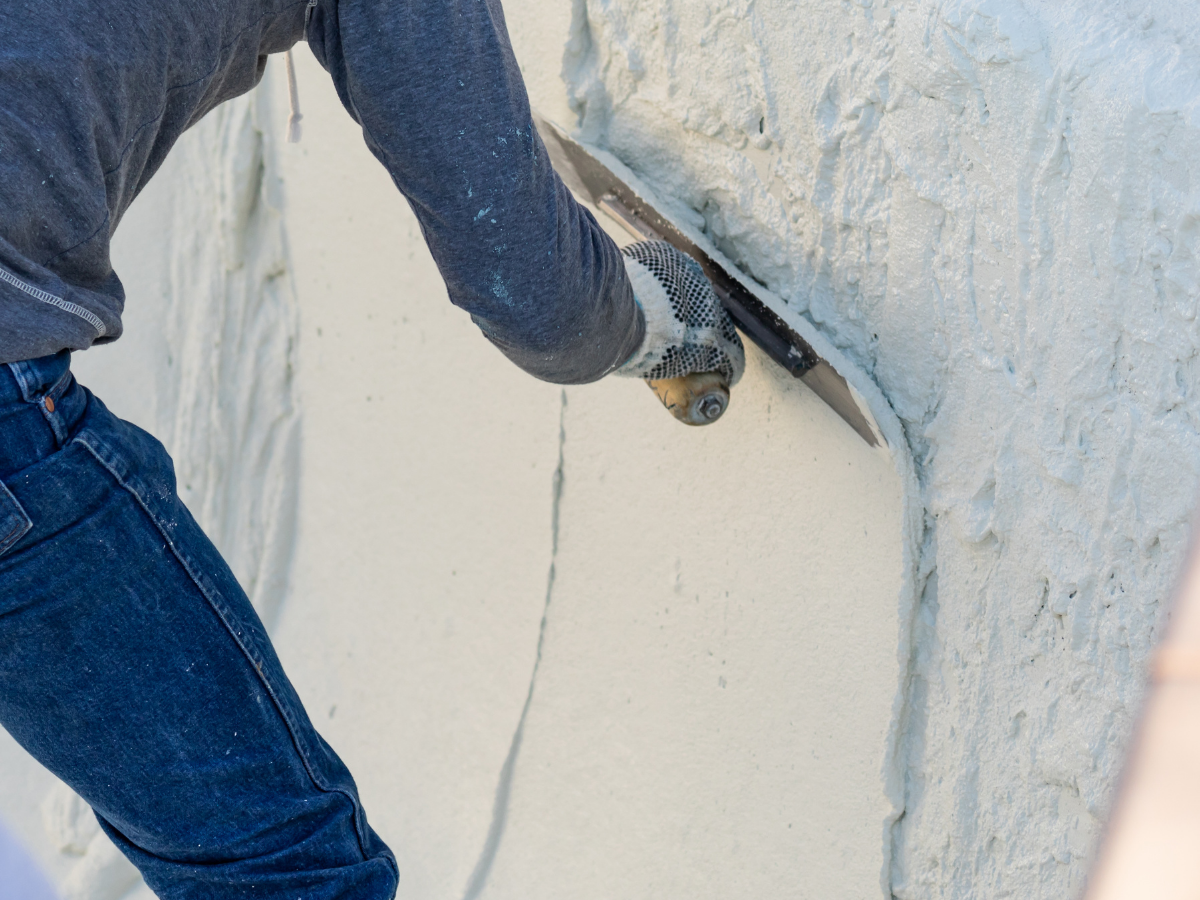
Wet Plastering
Wet plastering is a traditional method where a plaster mix is applied directly to walls or ceilings. It's known for its durability and high-quality finish.
Benefits of Wet Plastering
- Durability: Provides a strong, long-lasting surface.
- High-Quality Finish: Offers a smooth, seamless finish that’s ideal for painting.
- Versatility: Suitable for both new builds and restoration projects.
Best Use Cases
- Heritage and restoration projects
- Homes requiring a traditional finish
- Spaces needing a durable surface
Step-by-Step Guide to Wet Plastering
1. Preparation: If required, clean the surface and use a bonding agent.
2. Mixing: Prepare the plaster mix according to the manufacturer’s instructions.
3. Application: Apply the plaster in two coats. The first coat (scratch coat) is rough to help the second coat adhere.
4. Smoothing: Apply the second coat (finish coat) and smooth it with a trowel.
5. Drying: Allow the plaster to dry completely before decorating.
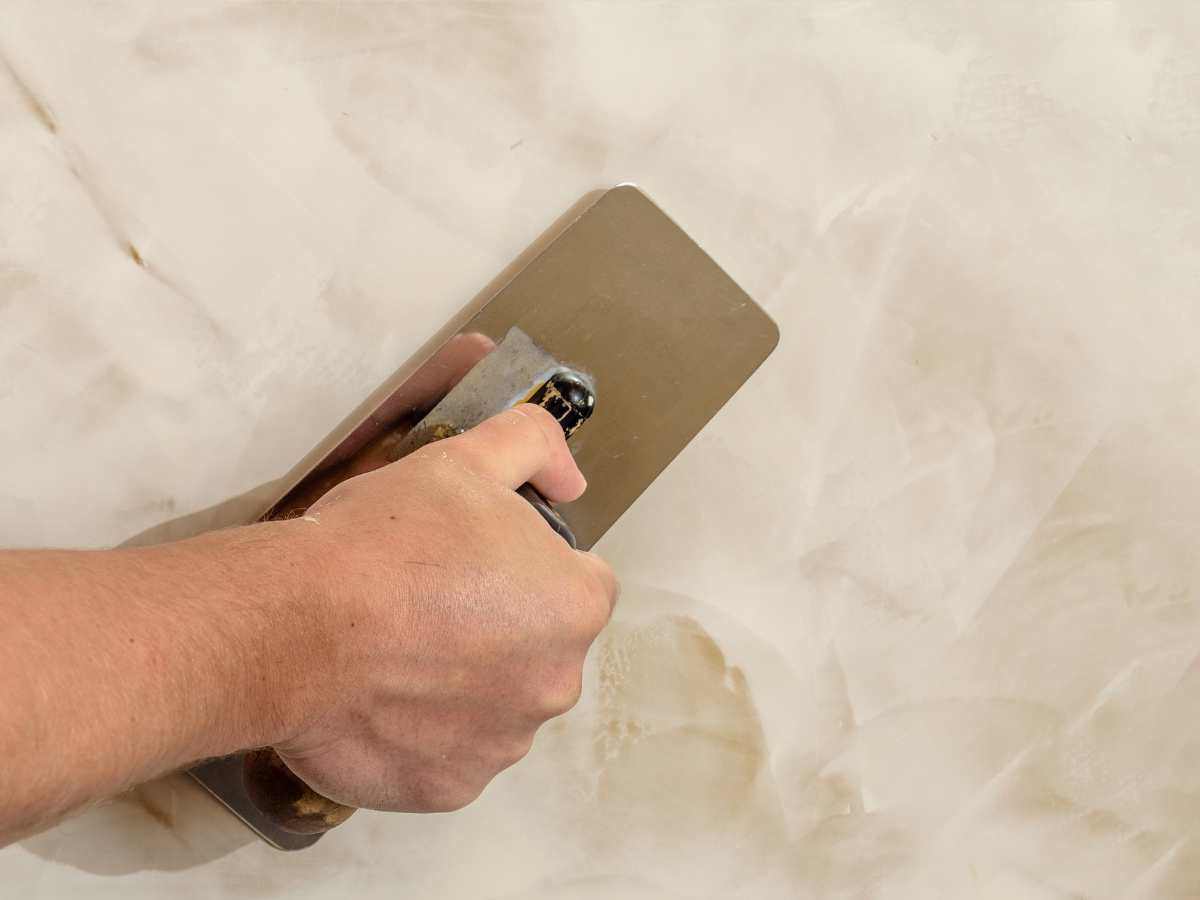
Venetian Plastering
Venetian plastering is a decorative technique that involves applying thin layers of plaster and polishing them to a smooth, shiny finish. It adds a touch of style to any space.
Benefits of Venetian Plastering
- Aesthetic Appeal: Provides a luxurious, marble-like finish.
- Durability: Hard-wearing and long-lasting.
- Moisture Resistor: Right for bathrooms as well as kitchens.
Best Use Cases
- Feature walls
- High-end residential projects
- Commercial spaces like hotels and restaurants
Step-by-Step Guide to Venetian Plastering
1. Preparation: Smooth the surface and apply a primer.
2. Base Coat: Apply the base coat of plaster and let it dry.
3. Layering: Apply multiple thin layers of Venetian plaster, allowing each to dry before adding the next.
4. Polishing: Polish the final layer with a trowel to achieve a glossy finish.
5. Sealing: Apply a sealant to protect the surface and enhance its shine.
Conclusion
Choosing the right plastering technique depends on your specific needs and the nature of your project. Spray plastering offers speed and efficiency for large areas, while dry lining provides a quick and clean solution for modern builds. Wet plastering is ideal for traditional projects needing a durable finish, and Venetian plastering adds a touch of luxury with its polished appearance.
For any plastering needs, particularly in the Norfolk area, it's best to consult with professionals who can provide expert advice and quality workmanship. Whether you’re renovating a home or working on a new construction, understanding these plastering techniques ensures you get the best results for your project.